I was recently given the task to digitize transparent slides from the 1960s. The color transparency slides posed an interesting problem. Conventional scanning was difficult because the slides are small and are designed to be back-lit by a projector. There are dedicated devices available that can scan film negatives, but they are expensive and difficult to find. The standard scanner that I had wasn’t sufficient for the task because it couldn’t resolve enough detail in such a small area (it was 1200 dots per inch maximum).
I made a view on this process and uploaded it to Youtube:
You can find many of the items used here:
Kit.co product collection
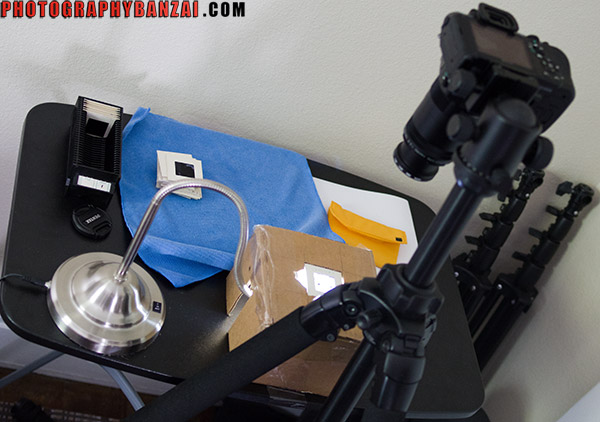
I created a DIY digitizer with:
– LED lamp to act as a backlight. The color of light from this lamp is close to daylight. I don’t know what color of light these slides are designed for, but this was my best bet.
– Cardboard and tape for the slide holding structure and various simple tools to form that.
– Two camera flash diffusers to even out the light coming from the LED lamp.
– A DLSR camera at 14 mega-pixels, 100mm f2.8 macro lens, and sturdy tripod.
– A simple table to hold the new cardboard device.
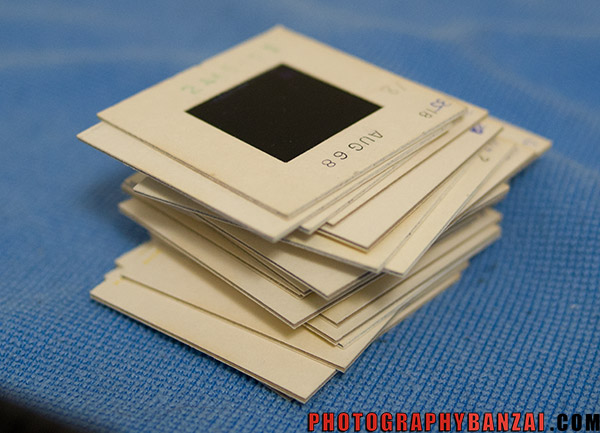
The slides in question were mostly Kodak Kodachrome Color Transparency slides for use with a slide projector. Basically the way people shared media content in the past without computers, large LCD screens, and digital cameras.
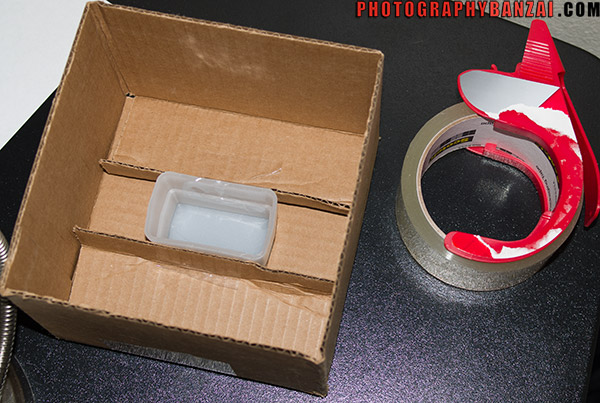
The main structure was a simple cardboard box cut in half. I used the interior flaps as a way to hold the primary flash diffuser in pace with the addition of some packing tape.
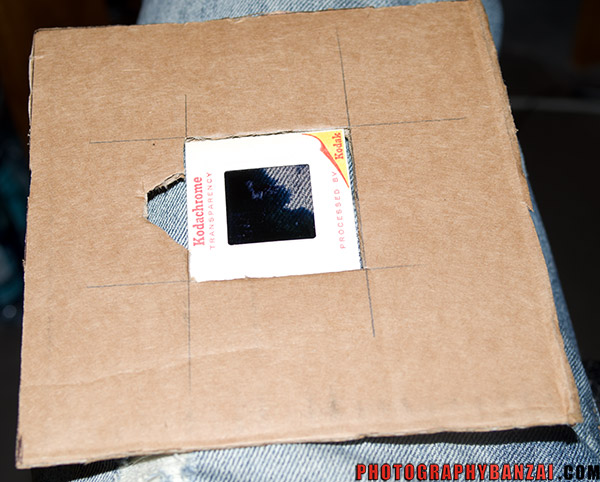
I added an additional piece of cardboard so that I could hold each slide in the same position to avoid a large amount of post-processing. There is a notch out of one side so the slides are easy to remove. In retrospect I think some tape around the edges where the slide is held in place would have made the fit more exacting (there was still some slight deviation in each slide, so I still had to straighten them individually.
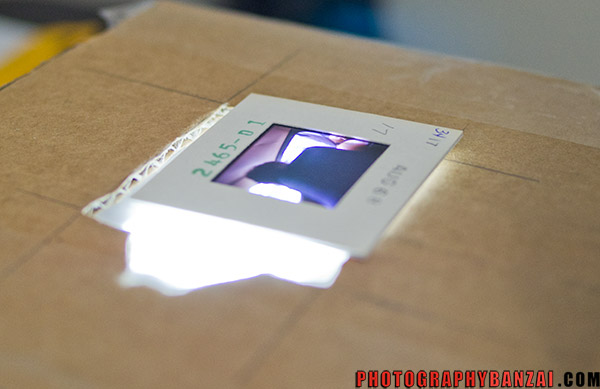
Here you can see of the the slides and how the light flows through the slide itself. Sky allows the most light in and shadow the least. I’m curious as to how they made these things, so I might look into that in the future.
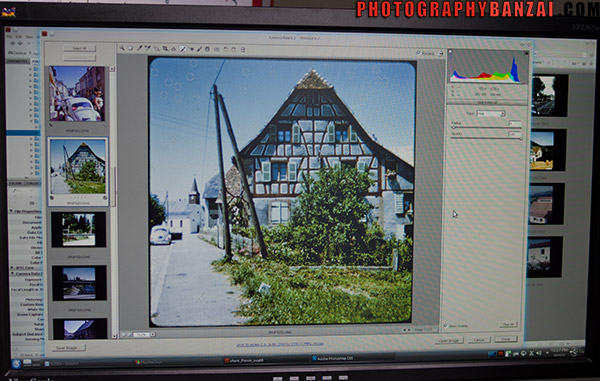
Once a set of slides was photographed, I edited them in Adobe Photoshop. That consisted of cropping the images back to their normal ratio, aligning them for straightness, and editing the images for color, contrast, and detail. I also did some minimal dust and scratch removal.
The final result seems good with images over 5 mega-pixels in size, which is sufficient for rather large prints.

