
This post contains affiliate links and I will be compensated if you make a purchase after clicking on my links.
Having fun with photography doesn’t have to be expensive. In this article I show you how I use old camera equipment to do at home macro photography. Besides a camera and lens, you can use normal household “daylight” color temperature light bulbs if you don’t have gear available to light your scene. Just remember that more light is better with macro photography. Let’s get started!
Back in February I started searching for an extremely low cost DSLR I could try out. I’m always up for learning about equipment I haven’t used. With how much traffic my YouTube channel currently receives, there isn’t much of a budget for video projects. My initial idea after searching was a Canon EOS 20D, but KEH had a sale at one point that made a bargain rated 30D within what I wanted to spend. I made a video at the start of that project if you are interested in checking that out.
Today we are going to use that camera for low cost at home macro photography. The main technique we will use is reversing lenses. It’s a simple and effective way to get really close focus. I wrote an article for PentaxForums.com back in 2011 where I used a dedicated reversing ring and a FA 50mm f1.4 lens to take test macro photos. You don’t need a mount to lens filter adapter like in that article. It will work by simply holding the lens backwards to the lens mount. There is one caution you need to keep in mind if you do that…
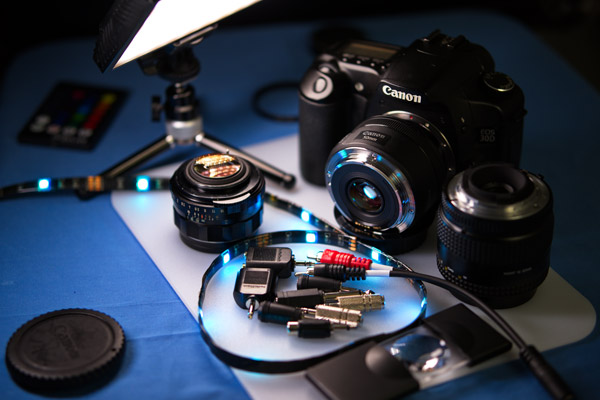
Equipment used:
- Canon EOS 30D camera body
- I tried out a few lenses I had on hand…
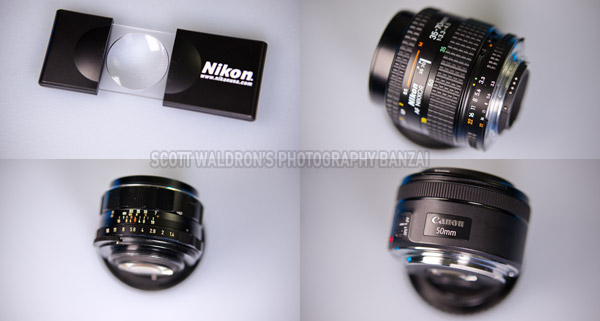
- Canon EF 50mm f1.8 lens
- Asahi Super Takumar 50mm f1.4 (8-element original version)
- Nikon AF Nikkor 35-70mm f3.3-4.5 lens
- I’d suggest browsing KEH’s lens search page with a few filters I added so you can see what’s available. I’d suggest getting one that has an aperture ring.
- A white plastic cutting board as the backdrop.
- This has the added benefit of reflecting light back upward.
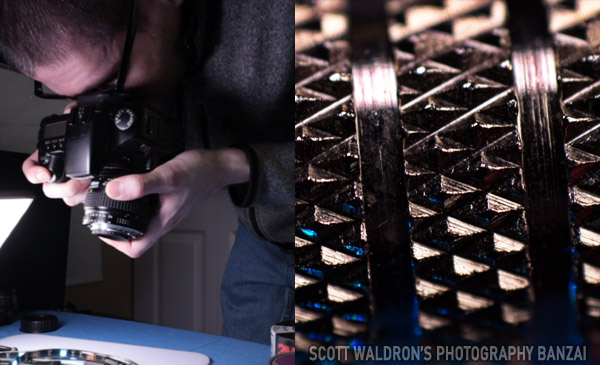
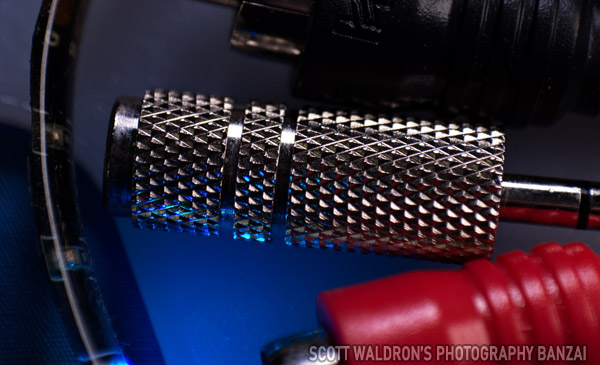
- LED strip lights
- A cheap way to add extra color to the scene. The one I used is from the store Five Below, but I see them at most stores.
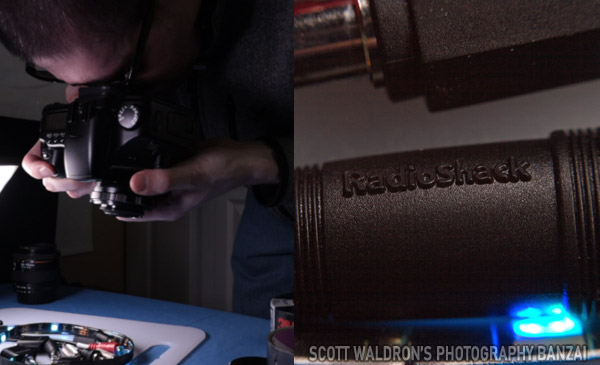
- No residue duct tape
- Similar to Gaffer tape, but easier to find. I use this to cover the camera’s data contacts.
- Constant lighting or flash gear. I prefer constant LED lights, but nearly anything would work. More light is better with macro photography.
- For normal bulbs get “daylight” color temperature ones (5000k). They are easier to work with than 3000k ones.
- I was using an Andycine Boling P1 at 5000k and a generic bi-color panel because I have them on-hand.
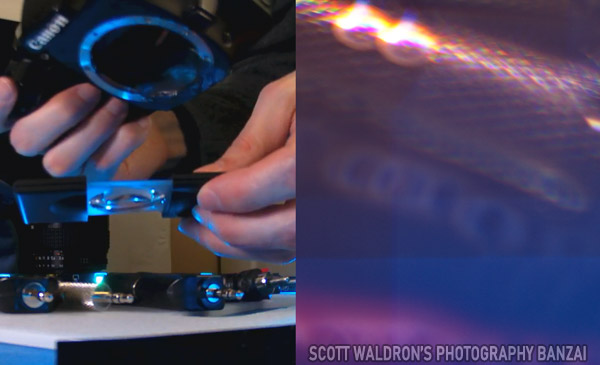
- Magnifying glass
- An alternative to a camera lens. The one I had is small and didn’t work that well. Experiment!
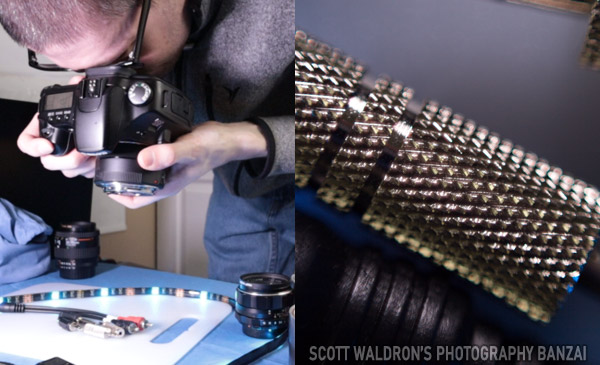
Before we start, you need to cover the camera’s data contacts with something. If you don’t do this you could easily short the contacts and damage the camera. Be careful!
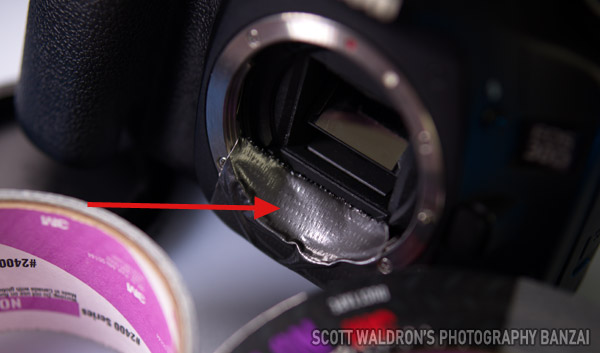
I use the no residue 3M duct tape to cover the 30D’s contacts below the SLR mirror. To take it one step further you could put a piece of paper on the adhesive side where the contacts would rest. That way there wouldn’t be any contact at all with the adhesive and the camera’s data pins. There is a chance the tape could tug on the pins when it’s pulled. I’d probably add paper next time, but didn’t have any issues. Part of the reason I bought this camera was to use it for experimental and riskier tasks. That’s the nice thing about lower cost older used equipment.
The first test was with the little magnifying glass. It didn’t work especially well, but with more practice and a higher quality or larger one I could see it working. Try things out and see if you are interested. Just don’t expect results you get from a camera lens.
The EF 50mm f1.8 STM isn’t the ideal lens to use for this task, but it works. With the EF mount, it has completely electronic aperture control and in the case of this lens the focus as well. So we are restricted to f/1.8. Generally, large apertures are not ideal when doing macro photography because depth of field is at a premium, so using smaller apertures is a big benefit.
Technically, I could get the lens focused closer by attaching it to the 30D, changing focus, and removing the lens, but that wasn’t worth the extra effort given the other lens options I had available.
It looks like there are advanced two-piece lens reversing adapters available that can control EF lenses. I see listings for one by Movo and one from Novaflex. I’d expect these to be pricey and not worth it given other options available. Just know they do exist.
The Asahi Super Takumar 50mm f1.4 was the easiest lens to use of what I had on hand. 50mm is a nice focal length for doing this reversed lens macro stuff because it will get close, but not to a level that it’s extremely difficult to hold the camera steady. I set the camera to a few smaller apertures. I also tried infinity and close focus.
The Nikon 35-70mm film era kit zoom lens worked well. I could get extremely close to the subjects depending on the combination of focal length plus focus position. This is actually a decent option as well if you don’t mind it being more fiddly than a prime lens.
For the smaller aperture work I had to really crank up the power on the two LED light panels. Keep that in mind if you want high quality images with a good amount in focus. You will need those small apertures and a lot of light.
The colored LED light strip worked well when I was using larger apertures such as with the EF 50mm, but it did work okay regardless. Once you start increasing ambient light too much it will basically make these lower power lights inconsequential to the exposure.
To increase image quality I’d suggest looking for a reversing ring with a mount that works on your camera. Be sure to match your lens choice with what is available. On one side is the camera bayonet mount and the other is the lens filter threading. For example, I’d go with a Fotodiox EF reverse macro adapter that has a 49mm filter thread to join it with the Asahi Super Takumar 50mm f1.4 lens.
If you go with a used lens and camera you can spent a tiny amount yet still get nice results. If you don’t have lighting, buy simple household daylight color LED bulbs with fixtures. I’d suggest the directional flood lamp style LED bulbs if you can find them and clamp lights. I have a few of these gooseneck clamp lights (or in black) that work well and take normal bulbs. You could get a nice macro setup to experiment with for really cheap.
Hope you enjoyed the article!